From Zero to Portfolio – Build an Impressive Student Website in a Weekend
Introduction
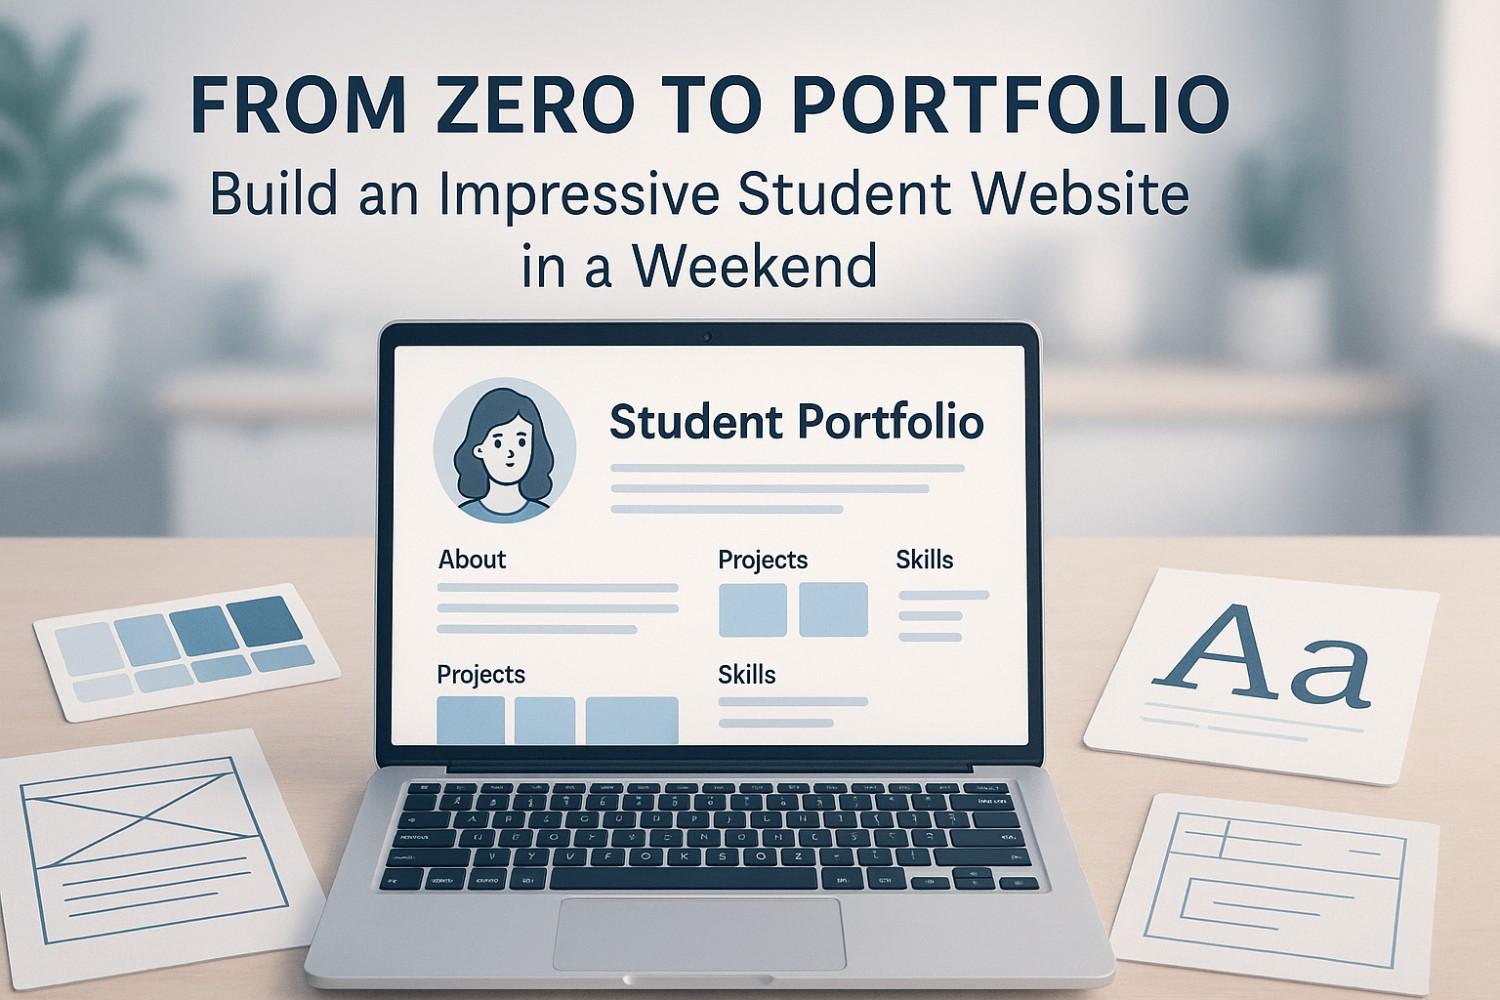
In today’s digital-first world, your personal portfolio is more than just an online resume—it’s your brand, your showcase, and often the first impression you make on potential employers, internship coordinators, or freelance clients.
A portfolio website is revolutionary for students. Your website can showcase your ideas, abilities, and inventiveness even if you lack years of professional experience. What's the best part? Even if you have no prior coding experience, you can construct it in a single weekend!
A portfolio website is revolutionary for students. Your website can showcase your ideas, abilities, and inventiveness even if you lack years of professional experience. What's the best part? Even if you have no prior coding experience, you can construct it in a single weekend! We'll go over beginner-friendly tools, design advice, and real-world examples as we walk through the process of going from nothing to a live portfolio. By the end, your website will have a polished appearance and a high Google ranking.
Table of Contents
- Why Every Student Needs a Portfolio Website
- Planning Your Portfolio Content
- Choosing the Right Platform (No-Code vs. Coding)
- Designing Your Layout and Brand Style
- Writing Compelling Portfolio Content
- Adding Projects and Achievements
- Making Your Site Mobile-Responsive
- Optimizing for SEO and Fast Loading
- Publishing and Sharing Your Website
- Maintaining and Updating Your Portfolio
- Common Mistakes to Avoid
- Final Weekend Checklist
1. Why Every Student Needs a Portfolio Website

- Visibility – Employers or recruiters can find you online.
- Professionalism – Shows you take your career seriously.
- Control – You decide how you present your work and skills.
A LinkedIn profile is great, but it’s not your space—it’s LinkedIn’s. A personal website is 100% yours.
💡 Tip: Even if you have no big projects yet, you can fill your portfolio with practice projects, academic work, and even passion projects.
2. Planning Your Portfolio Content
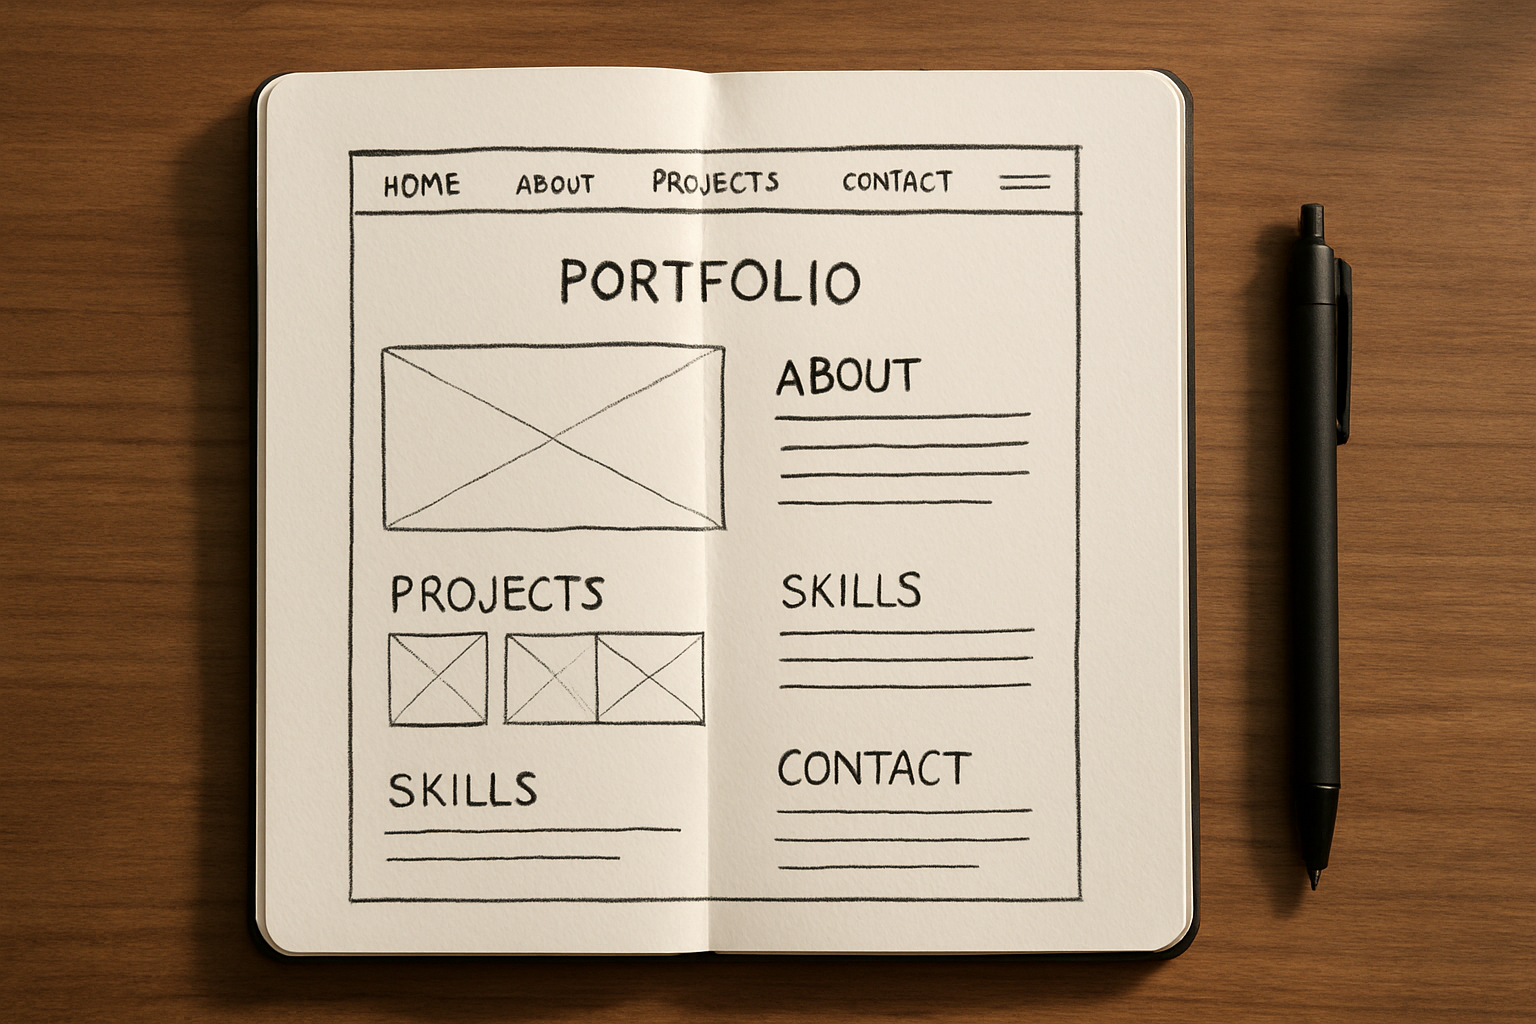
Before you start building, it's a good idea to plan what to include. Think of your portfolio as a way to show what you can do and what you're passionate about.
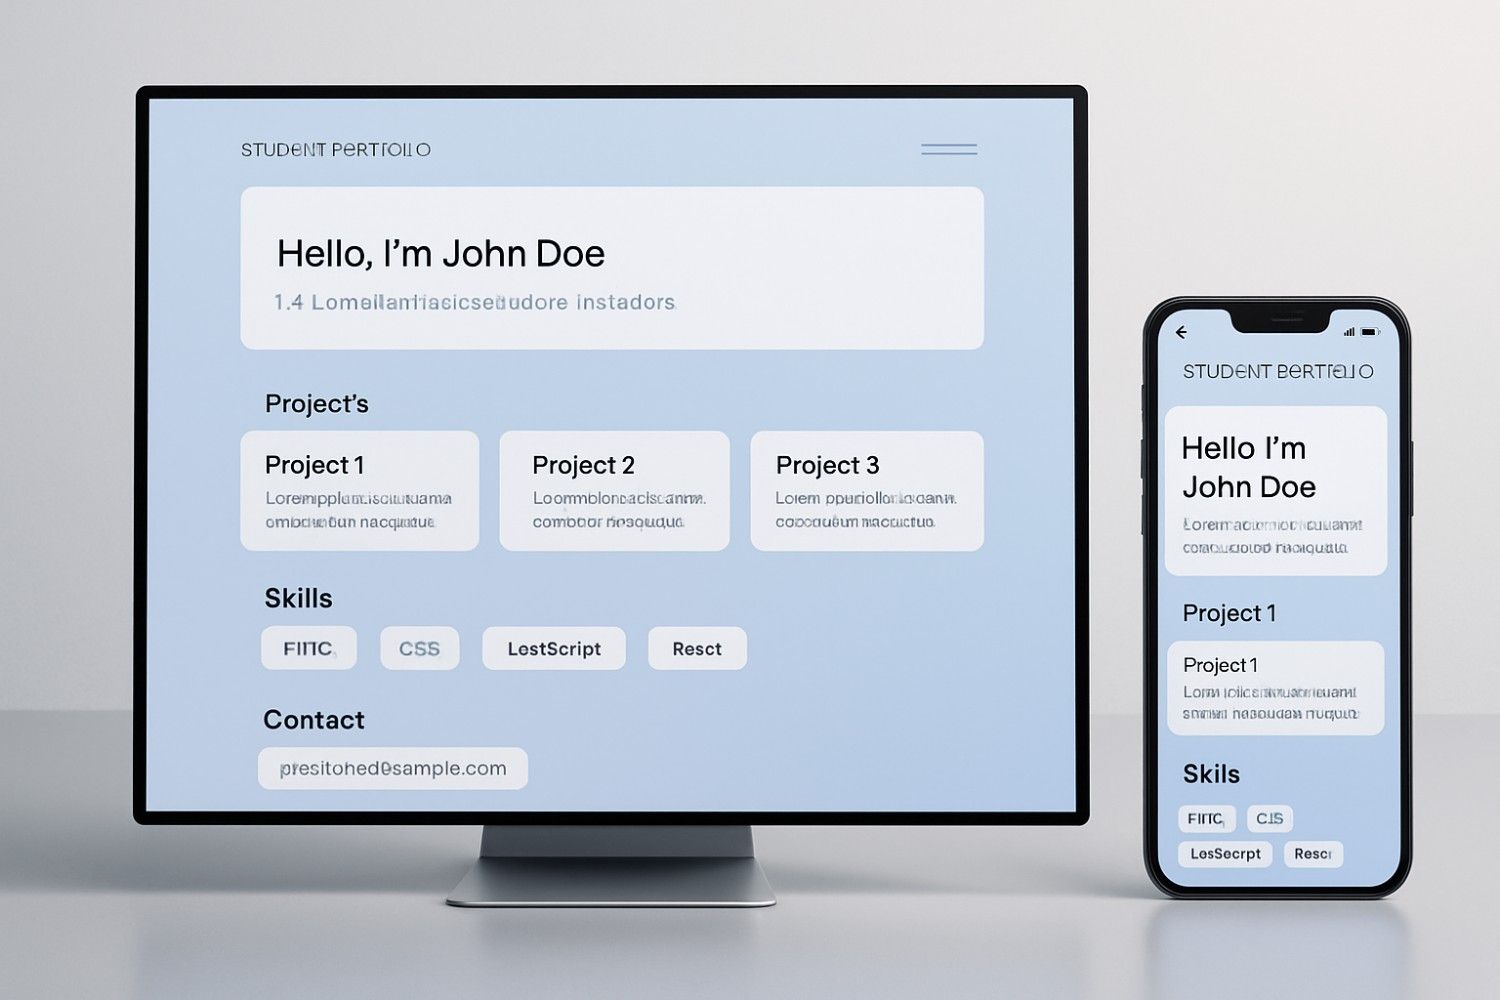
- Homepage: A quick introduction, a good photo of yourself, and your main abilities.
- About Me: Share your background, what you work on, and why you do it.
- Projects: Feature about 3-5 projects you've worked on. Add descriptions, the things you used to create them, and some pictures.
- Skills: List both your technical and soft skills.
- Contact: Include your email, social media links, and maybe a contact form.
💡 Tip: Write like you’re chatting with someone you know. Keep it simple and skip the fancy language unless you're sure everyone knows what you're talking about.
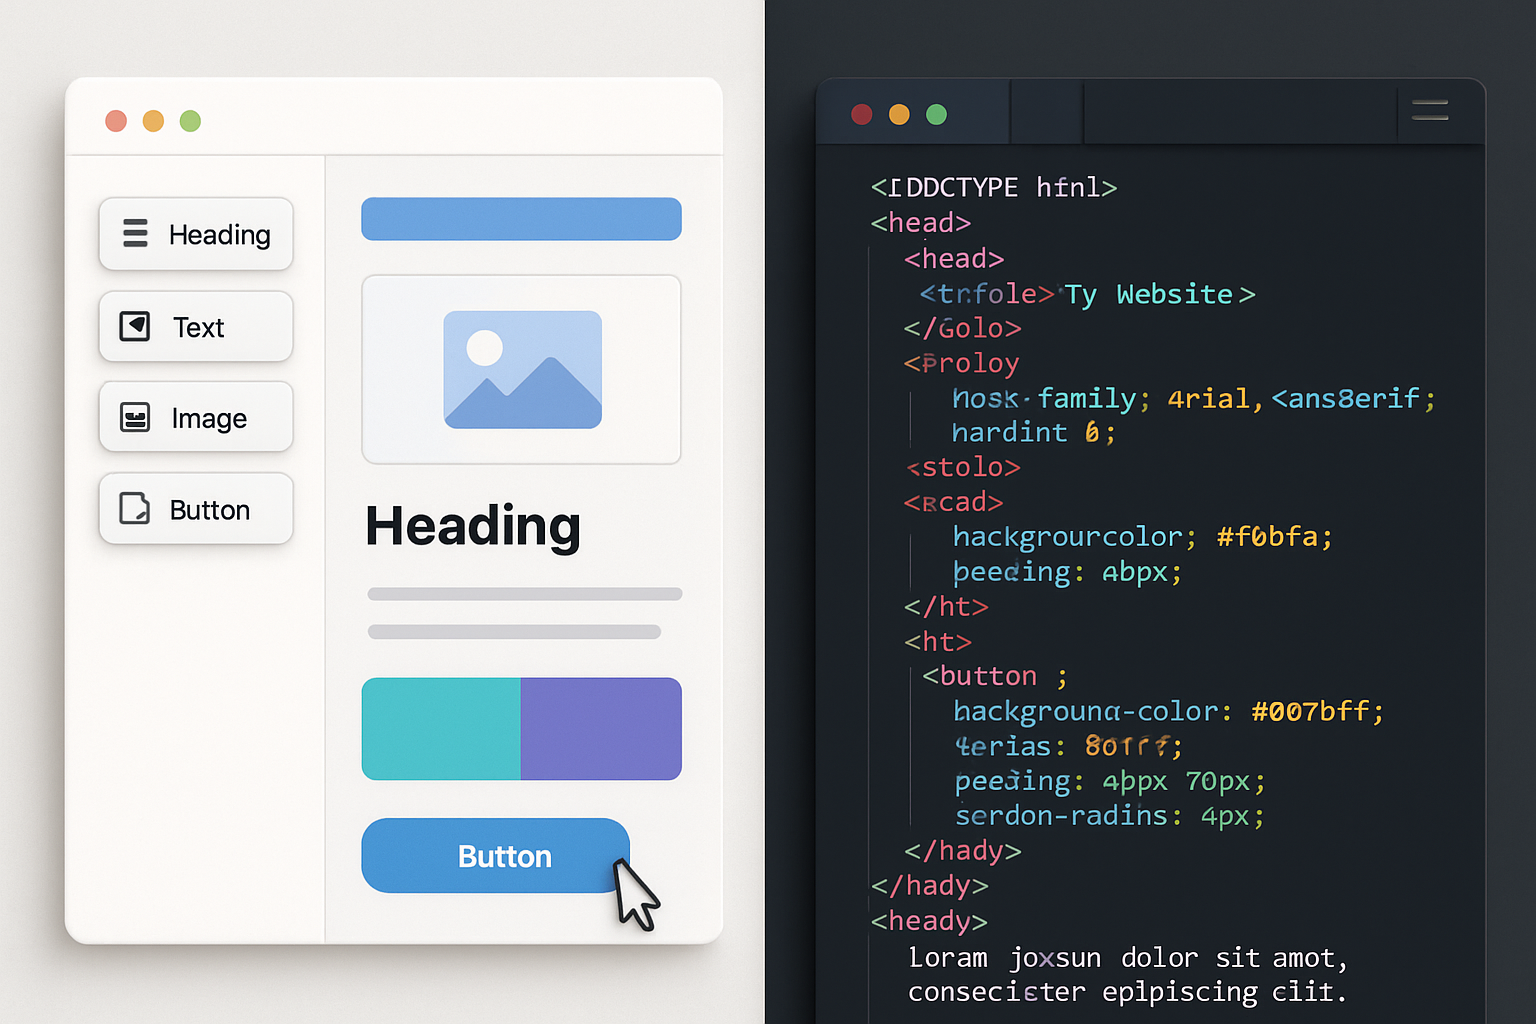
3. Choosing the Right Platform (No-Code vs. Coding)
.jpeg)
No-Code Builders
- Examples: Wix, Squarespace, WordPress.com
- Advantages:
- Fast to set up
- User-friendly (drag-and-drop features)
- No prior coding knowledge required
- Drawbacks:
- Limited customization options
- Potential for recurring monthly fees
Coding Your Own Website
- Common Languages: HTML, CSS, JavaScript
- Advantages:
- Complete creative control
- Ability to customize every element
- Opportunity to develop valuable technical skills
- Drawbacks:
- Steeper learning curve
- Longer time investment to launch
💡 Recommendation for Weekend Starters: For rapid deployment and ease of use, a no-code tool is advisable. For those interested in building technical proficiency and seeking full customization, starting with HTML and CSS is recommended.
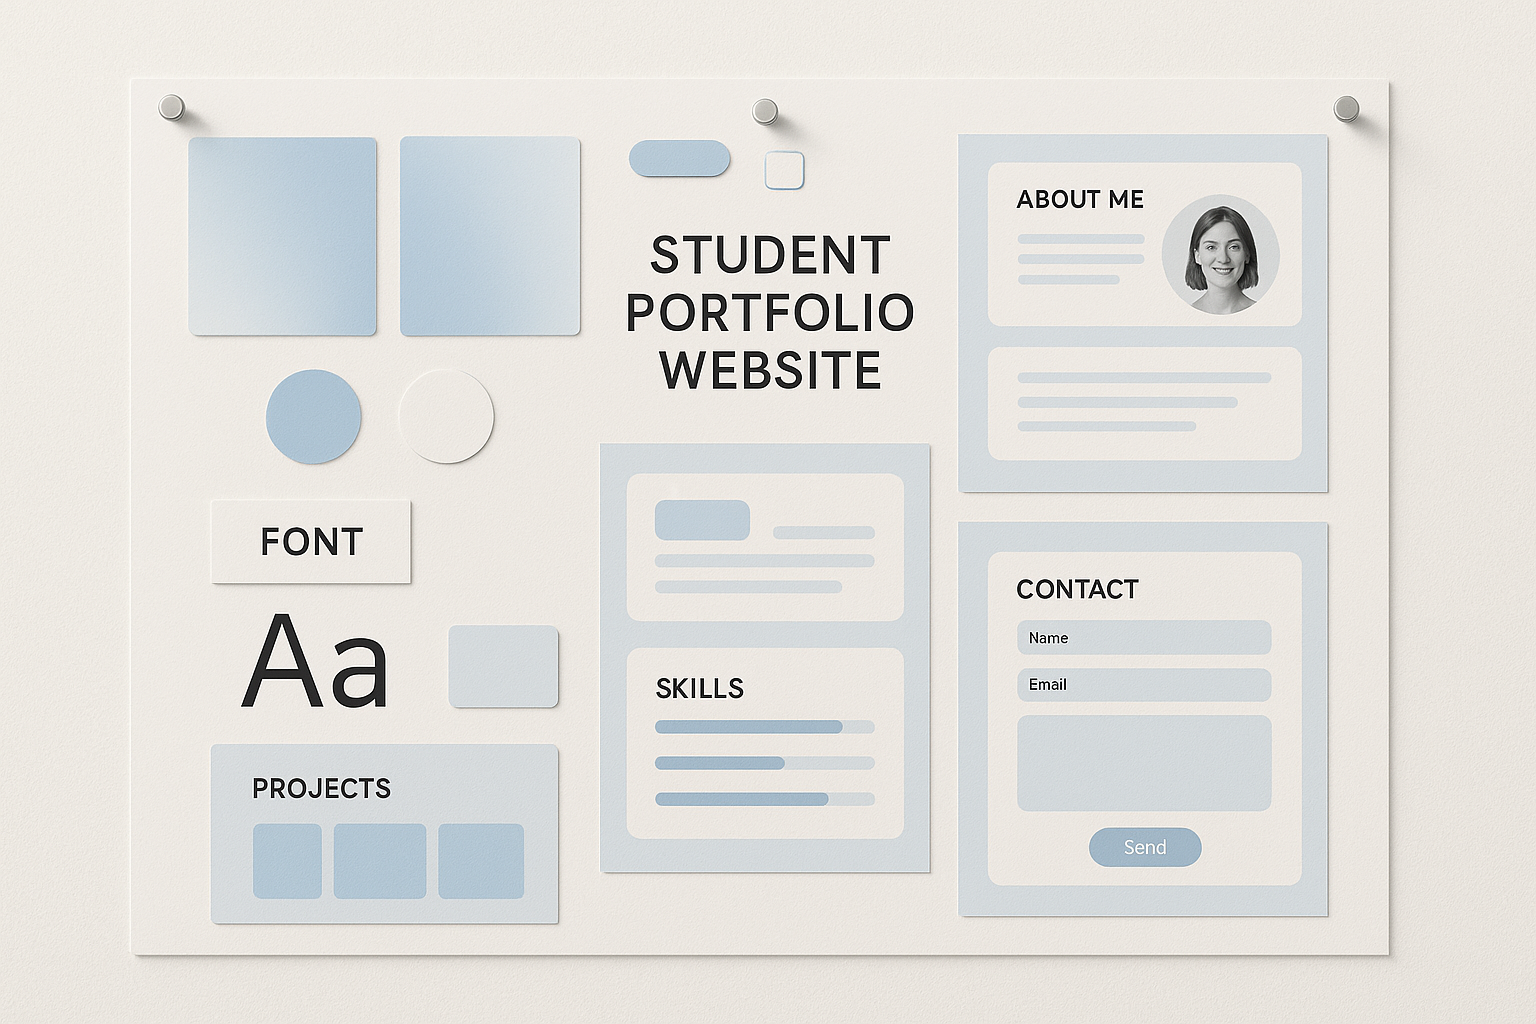
4. Designing Your Layout and Brand Style
Your portfolio should reflect your personality while staying professional.
Color Palette
- Use 2–3 main colors.
- Soft tones for minimalism, bright tones for creativity.
Typography
- Use 1 font for headings, 1 for body text.
- Google Fonts offers free, stylish font options.
Layout Principles
- Keep navigation simple (max 5 menu items).
- Use white space for breathing room.
5. Writing Compelling Portfolio Content
Good design is useless without strong content.
Tips for Each Section:
- Homepage – Hook with a short headline: “Hi, I’m Priya – Web Developer & Designer.”
- About – Tell your story, motivations, and skills.
- Projects – Use action verbs (“Developed,” “Designed,” “Built”).
- Contact – Keep it easy to reach you—don’t hide your email.
6. Adding Projects and Achievements
Despite your inexperience, you have projects worth showcasing:
- Assignments for class
- Hackathon submissions
- Individual experiments
- Volunteering
💡 Include brief descriptions, screenshots, and the tech stack utilized.
7. Creating a Mobile-Friendly Website
Since more than 60% of browsing takes place on mobile devices, responsiveness is a must.
Basic Resources for Responsiveness:
- No-Code: Often handled automatically by builders.
- Code: Apply media queries to CSS.
Example of a CSS snippet:
@media (max-width: 768px) {
    body {
        font-size: 16px;
        padding: 10px;
    }
    nav ul {
        flex-direction: column;
        gap: 10px;
    }
    img {
        max-width: 100%;
        height: auto;
    }
}
8. Optimizing for SEO and Fast Loading
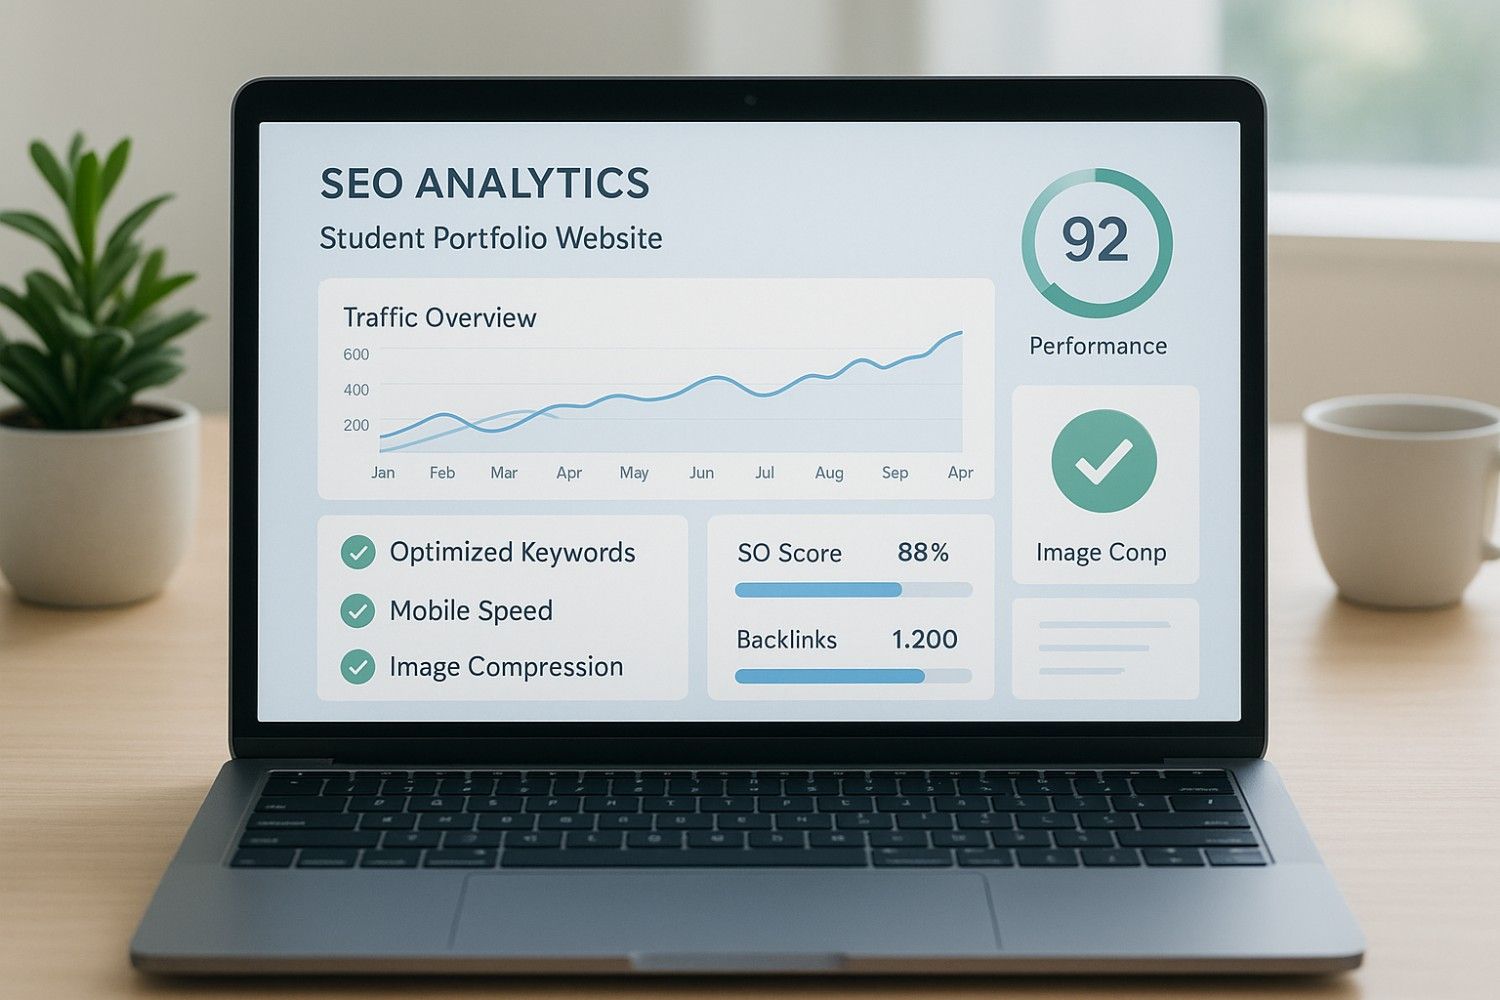
Even the best site fails if no one finds it.
Quick SEO Tips:
- Use keywords like “student web developer” or “junior software engineer”.
- Add meta titles and descriptions for each page.
- Compress images to speed up loading time.
10. Updating and Maintaining Your Portfolio
- Continually add new projects.
- Update accomplishments and abilities regularly.
- Redesign the layout once a year to keep it fresh.
11. Common Mistakes to Avoid
- Overly intricate navigation that confuses visitors.
- Using large, unoptimized photos that slow loading.
- Lack of mobile support.
- No obvious way to get in touch with you.
12. Final Weekend Checklist
- Select a platform and organize content ✅
- Choose the color scheme and typefaces ✅
- Include projects and descriptions ✅
- Verify responsiveness ✅
- Make your site SEO-friendly ✅
- Share and publish ✅